# Create Tests from Template
In this guide, we will look at how easy it is to write tests from a template. You will just need to configure the template variables and you are ready to go.
# Steps:
- To create a test case, simply click on
 icon available in the left pane. A dialog window will appear.
 - Now, in the dialog window, select the option 'Generate from Template'.
- Now, select the desired test suite and provide the template reference for which you would like to create a test case.
- Now click on the
Confirmbutton to create your test case.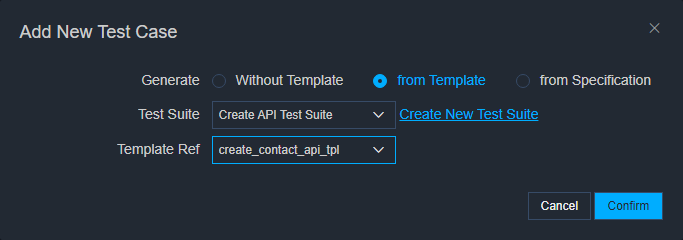
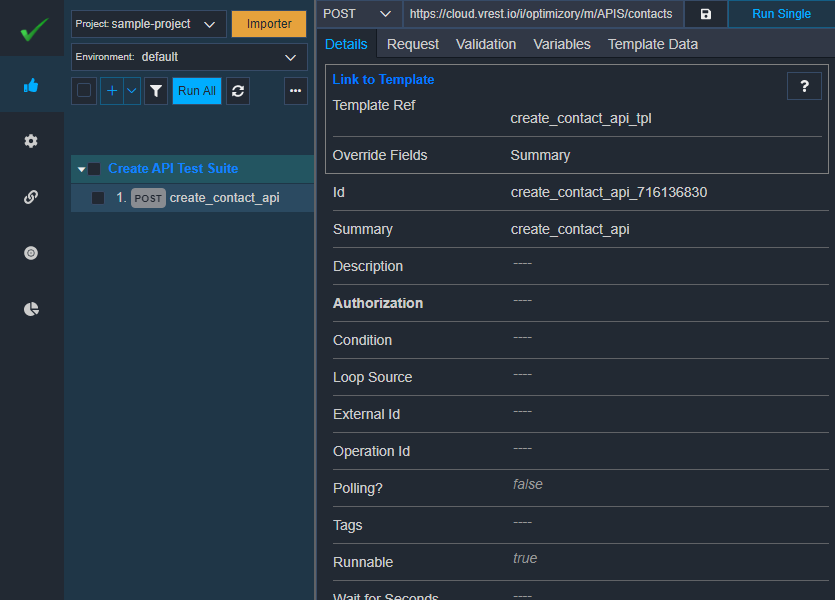
A test case will be created like below. By default, the following fields are editable for the newly created test case:
- Test case id (Always editable),
- Summary field to override the summary information of the template
- Template Data (Alway editable) to provide the values of template variables (
{{$data}}variables).
- Template Ref (Always editable) to change/unlink the template used for the test case.
- Override Fields (Always editable) to override other fields of the template. By default only the
Summaryfield is editable.
And you can always edit the linked template by clicking on the button Edit Template available at the bottom of this test case.
Now, let's look at the generated Template Data tab for this test case. This tab is automatically generated based on the template variables.
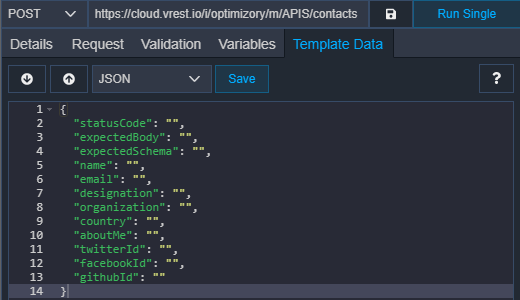
You have to fill in these values and you are ready to go. But before that, let's look at the request body and response validation tab of the test case to see the template variables.
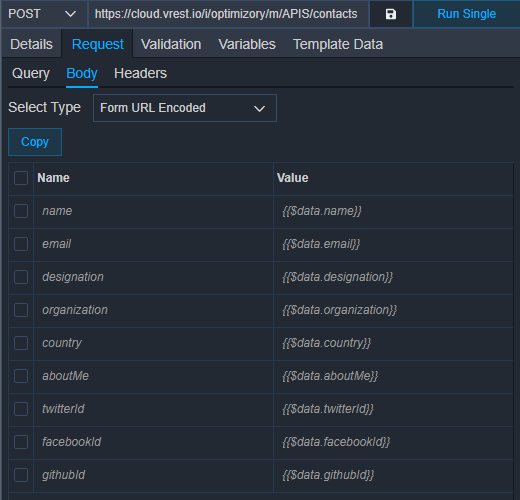 Image: Request Body tab derived from Template
You have to fill these variables' values in the Template Data tab.
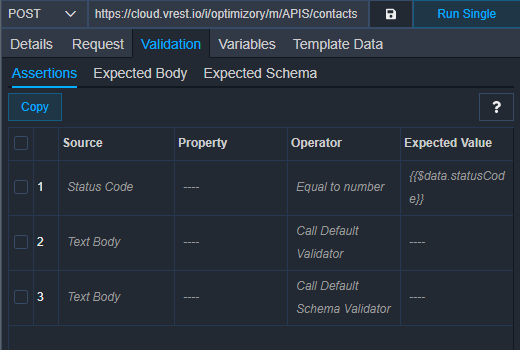 Image: Assertions tab derived from Template
If you would like to override the template assertions then you may just add the Assertions field in the Override Fields available in the Details tab. And if you would like to just modify the template assertions then just click on the Edit Template button and change the linked template. Please note that expected status code information is provided through the $data variable. So, we will need to define the value in the Template Data section.
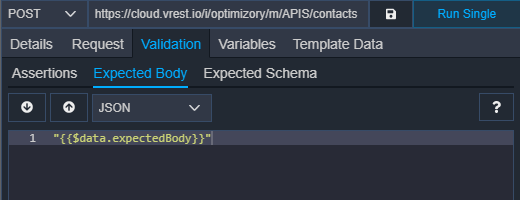 Image: Expected Body tab derived from Template
Similarly, the Expected Body section is just a template variable. You may modify the template as your own custom need.
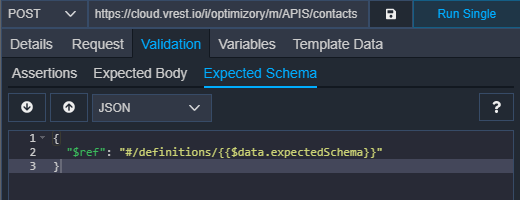 Image: Expected Schema tab derived from Template
Now, let's try to define values for template variables in our Template Data section:
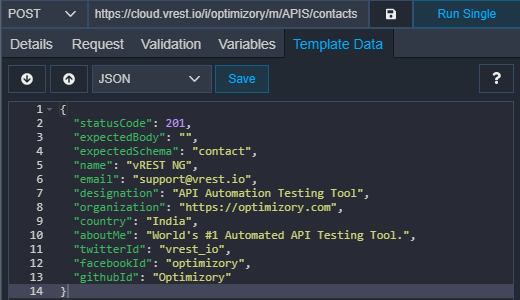
We have specified all the data except the expected body. Now, let's try to run the test case. As we can see that the test case has failed because we have not specified the expected body.
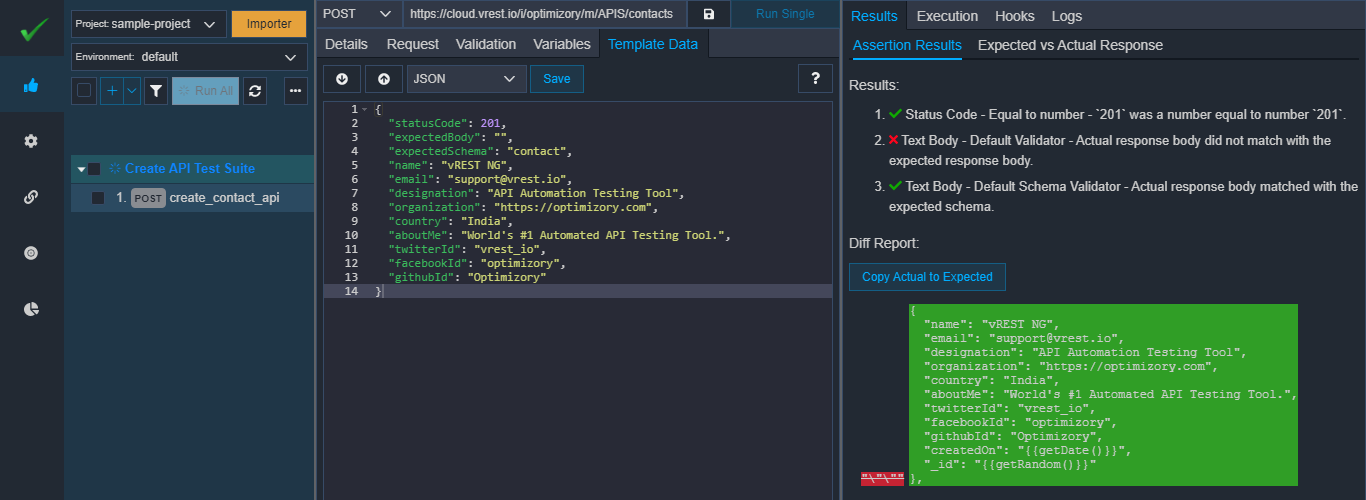 Now, if click on the button
 Copy Actual to Expected then the vREST NG application will directly set the expected body field for you in the Template Data section.
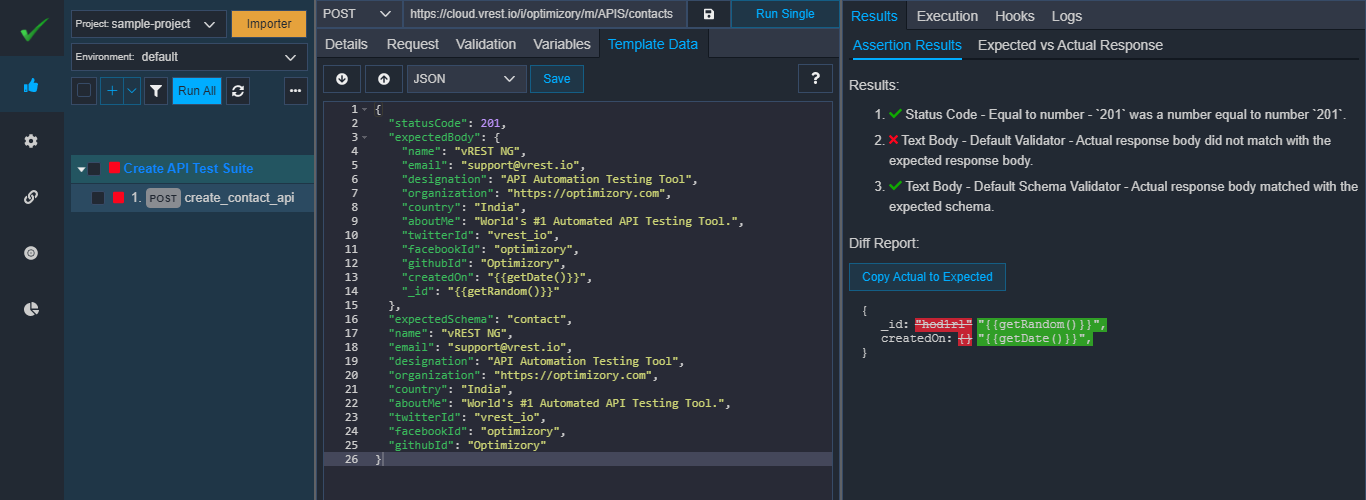
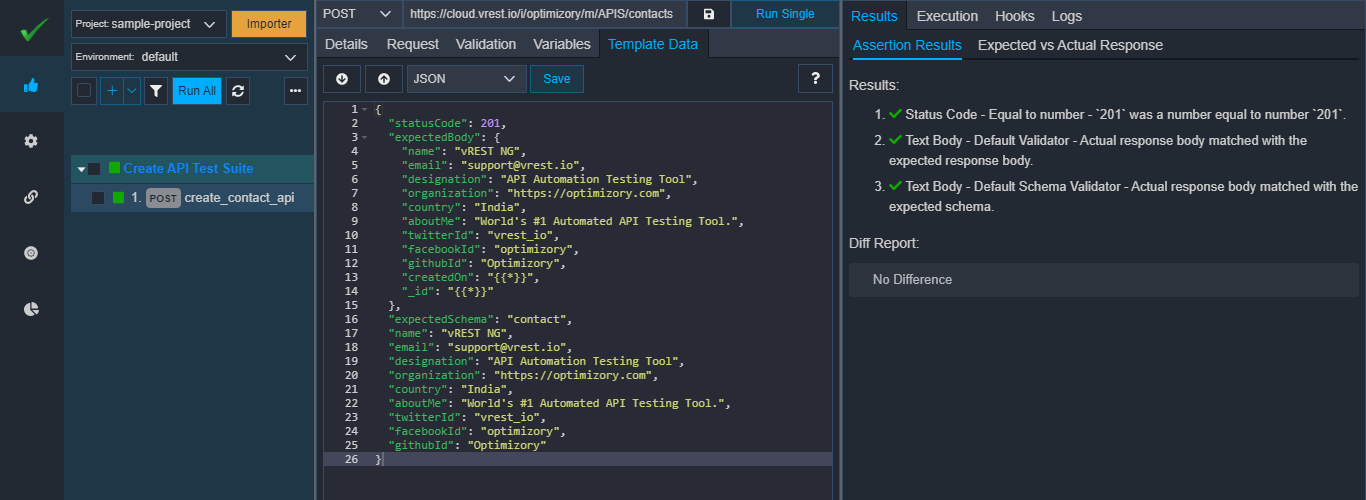
If we run the test case, then we can see that this time, the test case has failed due to dynamic properties in the response. We can ignore the dynamic properties through our special variable {{*}} as usual.
And if we run again, then we can see that the test case has passed this time.
So, in this way, you may generate tests from templates. So, once you have defined your templates then you just have to focus on template variables, not the request specifications. It becomes easier to just define the values for template variables in the Template Data section and you are ready to go.